If you want to become an indie game developer (or a 3d artist) and you have no money for Maya or 3ds Max then Blender is your saving grace. Thank you Mr Blender creator man for making it free.
3D modelling is a job in itself but by learning a few shortcuts and basic tools you can create game ready assets in next to no time. In order to do that though you need to learn how to use Blender; enter Andrew Price. I first heard of his tutorial on twitter from one of our environment artists who was doing it during lockdown. It turns out, nearly everyone was making doughnuts during lockdown. I got round to first doing it in October 2020. It took me about 2 weeks but by the end of it I had a nice pink doughnut with sprinkles and a cup of coffee; I was very proud. I then took those skills and quickly modelled a duracell battery I needed for a simple game I was making.
Andrew takes you through modelling, sculpting, texture painting, lighting, material creation and more with a laid back confidence that's hard to find in tutorials. He doesn't talk to fast, he repeats things, explains when necessary as not to overload you with information and he's also very funny. It kind of feels like a 1-on-1 session with your favourite tutor at uni.
Part 1 focuses on becoming comfortable with the viewport and basic commands like rotate, scale and grab before moving onto sculpting a plain torus into a doughnut shape and creating some icing. Here's a comparison of my attempts:
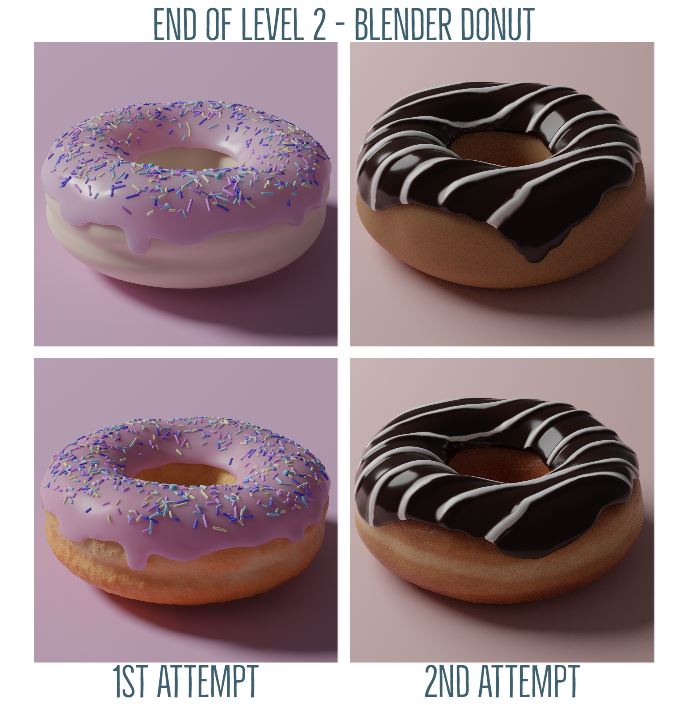
I was pretty proud of that pink and milky white doughnut back in October but I've definitely improved. I've been doing quite a few material courses and learnt about the importance of roughness, subsurface and other factors like clearcoat. I also spent more time searching for appropriate colours instead of using the colour picker and spent time making sure my lighting was more realistic. Even though there are 3 more levels to go, it feels like I could use that chocolate doughnut as a low-poly stylized game asset.
Level 2 is all about texture painting and adding displacement to a mesh to make it more realistic. I spent a stupid amount of time at the end of this level trying to get the displacement of the donut texture just right. It was one of the major things that bugged me about the 1st donut; it was just too textured. It looks like mid-2000s CGI bread and this is supposed to be a donut. After studying lots of donut pictures and buying a donut myself (that I couldn't even eat because I'm gluten intolerant) I eventually ended up blending two noise textures together to get this slightly bumpy glazed look. Doughnuts are much smoother than you would think given it's a baked treat. It's still not perfect but much more realistic; even if it looks like it should have more texture. I'd like to spend some more time with the pinch and crease sculpting tools though to add some proper detail around the middle as it tends to fold in right where it's been cooking.
I also found that Adobe has a great website called Adobe Colour which allows you to upload an image and create colour palettes from it. You can easily copy the hex values to any program.
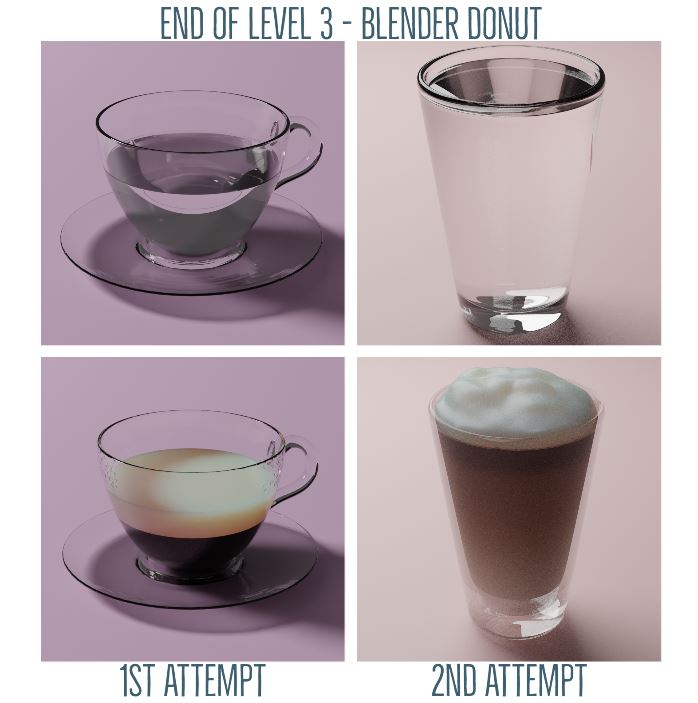
So the third level is the creation of a cup of coffee. I wanted to deviate from the one on the left and used my own reference image of a Bodum glass. They are my favourite glasses; I use them for everything as you don't get any condensation on the outside due to the fact they're double walled. Also, coffee looks beautiful in them as you can see the gradient and the liquid looks like it floating. At first, the glass was just reflecting the inside liquid material however, after messing around with the material settings of the glass I found that setting the alpha to 0.5 allowed you to see through it giving that double walled look. For the foam; instead of using the top part of the liquid mesh and applying a different texture, I duplicated the top face, extruded the edges downwards and then closed them to create a new mesh. This allowed me to deform the foam exactly how I wanted with the sculpting tools without ruining the rest of the liquid (like I did last time, you'll see later). I then stuck a noise texture on top to try and simulate bubbles.
In the first attempt, the liquid was created using volume absorption but I wanted that gradient look. I could've used the nodes in the material editor to procedurally generate it but I opted for UV unwrapping the liquid and then creating a gradient in PhotoShop and texturing it with that.
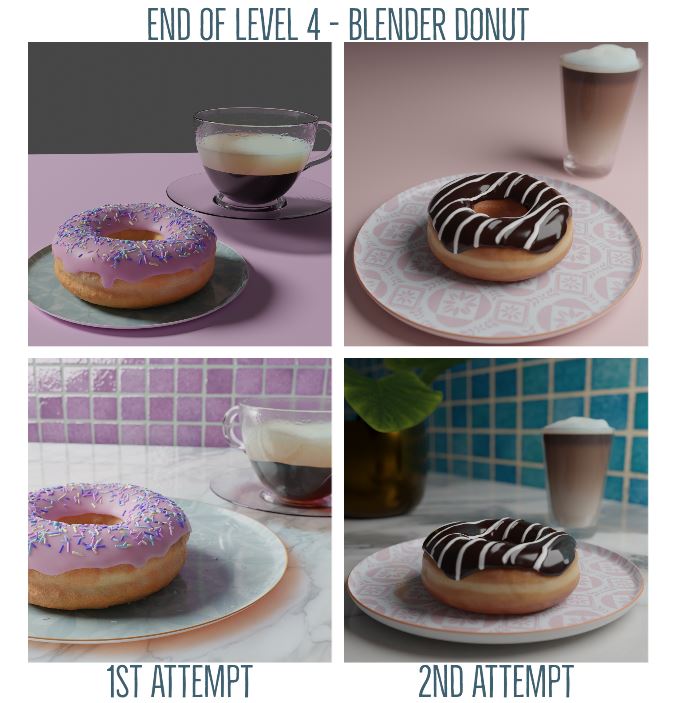
So there you have it; my donut attempts. I'll probably end up doing this series once more but without Andrew's videos. It's time to take the training wheels off and make a scene myself.


No comments:
Post a Comment